IdentityServer具有非常好的扩展性,其中用户及其数据(包括密码)部分你可以使用任何想要的数据库进行持久化。 如果需要一个新的用户数据库,那么ASP.NET Core Identity是你的一个选择。 本快速入门介绍了如何将ASP.NET Core Identity 和 IdentityServer4一起使用。
在阅读这篇文章是,希望你能把前面的文章全部看一遍,了解基本使用和相关的理论。 这个快速入门使用ASP.NET Core Identity的方法是从Visual Studio中的ASP.NET Core Identity模板创建一个新项目。 这个新的项目将取代之前在之前的快速入门中从头开始构建的IdentityServer项目。 此解决方案中的所有其他项目(对于客户端和API)将保持不变。
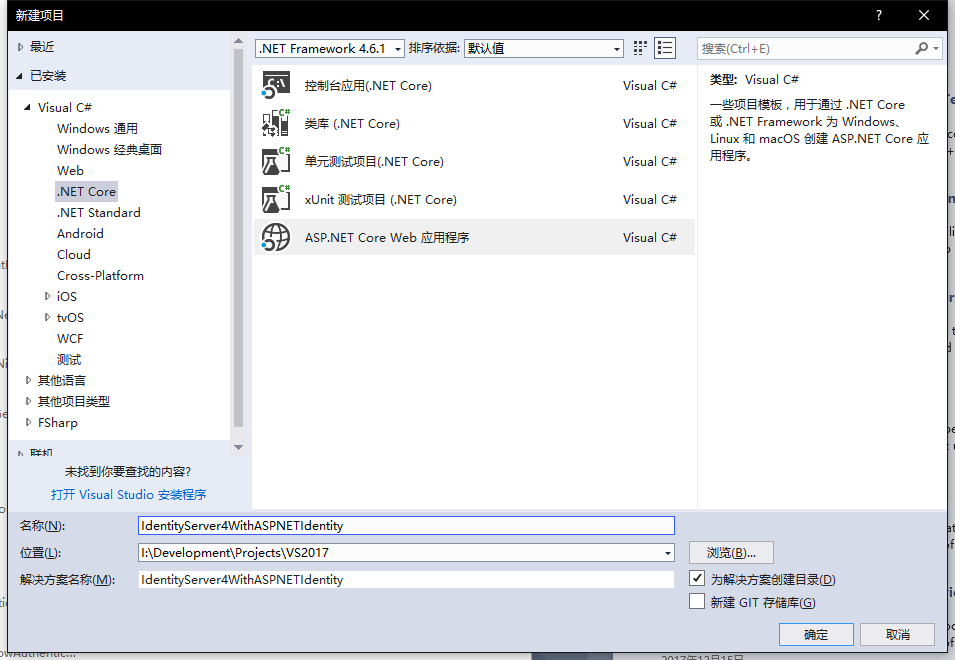
建立ASP.NET Identity新项目
第一步是为您的解决方案添加一个ASP.NET Core Identity的新项目。 鉴于ASP.NET Core Identity需要大量代码,因此使用Visual Studio中的模板是最好的。 你最终将删除IdentityServer的旧项目,但有几个项目需要迁移(或按照之前的快速入门所述从头开始重新编写)。
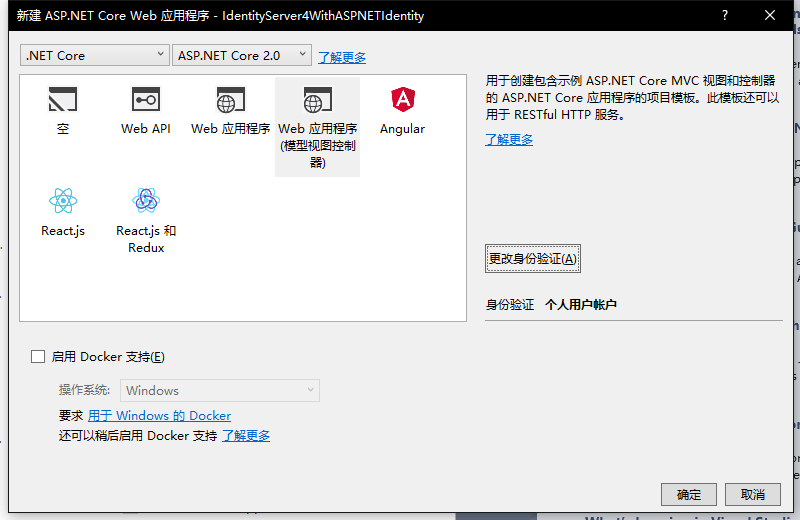
创建一个ASP.NET Core Web应用程序
然后选择Web应用程序(MVC)

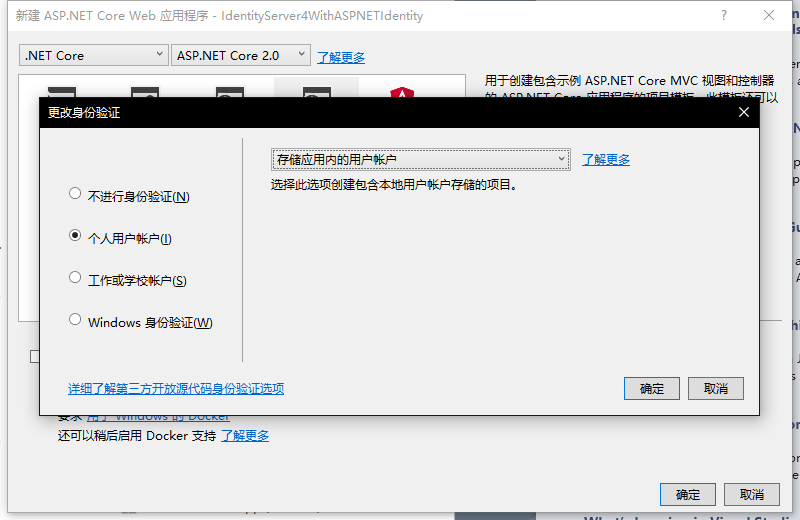
然后点击“更改身份验证”按钮,选择“个人用户账户”
最后,你的设置应该是和下图一样:
修改hosting
不要忘记修改hosting以在端口5000上运行。这非常重要,这将关系到继续使用现有的客户端和API项目。

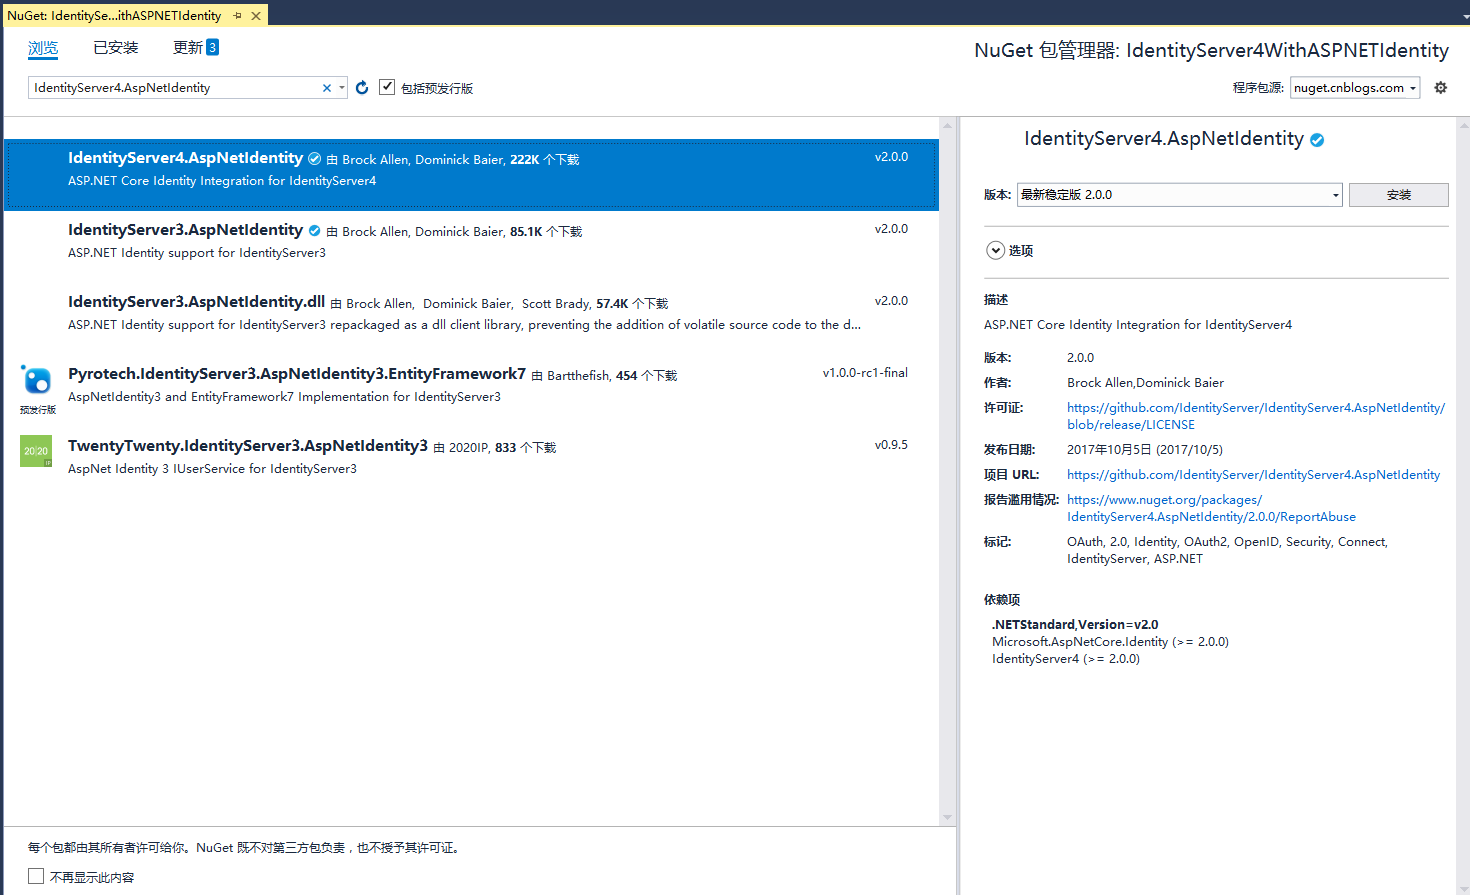
添加IdentityServer组件
添加IdentityServer4.AspNetIdentity NuGet包。
Scopes 和 Clients 配置
尽管这是IdentityServer的一个新项目,但我们仍然需要与之前的快速入门一样的配置Scopes 和 Clients。 将之前快速入门的配置类(在Config.cs中)复制到此新项目中。
对于现在的配置需要改变的是禁用MVC客户端的许可。 我们还没有复制之前的IdentityServer项目的许可代码,所以现在对MVC客户端进行一次修改,并设置RequireConsent = false:
new Client{ ClientId = "mvc", ClientName = "MVC Client", AllowedGrantTypes = GrantTypes.HybridAndClientCredentials, RequireConsent = false, ClientSecrets = { new Secret("secret".Sha256()) }, RedirectUris = { "http://localhost:5002/signin-oidc" }, PostLogoutRedirectUris = { "http://localhost:5002/signout-callback-oidc" }, AllowedScopes = { IdentityServerConstants.StandardScopes.OpenId, IdentityServerConstants.StandardScopes.Profile, "api1" }, AllowOfflineAccess = true}配置IdentityServer
和以前一样,IdentityServer需要在Startup.cs的ConfigureServices和Configure中进行配置。
ConfigureServices:
以前我们使用AddTestUsers扩展方法用于注册用户,但在这种现在的解决方案下,我们用AddAspNetIdentity替换该扩展方法来使用ASP.NET Identity用户。AddAspNetIdentity扩展方法需要一个通用参数,它是你的ASP.NET Ientity用户类型(与模板中的AddIdentity方法一样)
public void ConfigureServices(IServiceCollection services){ services.AddDbContext<ApplicationDbContext>(options => options.UseSqlServer(Configuration.GetConnectionString("DefaultConnection"))); services.AddIdentity<ApplicationUser, IdentityRole>() .AddEntityFrameworkStores<ApplicationDbContext>() .AddDefaultTokenProviders(); // Add application services. services.AddTransient<IEmailSender, EmailSender>(); services.AddMvc(); // configure identity server with in-memory stores, keys, clients and scopes services.AddIdentityServer() .AddDeveloperSigningCredential() .AddInMemoryPersistedGrants() .AddInMemoryIdentityResources(Config.GetIdentityResources()) .AddInMemoryApiResources(Config.GetApiResources()) .AddInMemoryClients(Config.GetClients()) .AddAspNetIdentity<ApplicationUser>();}我们在将Asp.Net Identity添加到DI容器中时,一定要把注册IdentityServer放在Asp.Net Identity之后,因为注册IdentityServer会覆盖Asp.Net Identity的一些配置,这个非常重要。
Configure
使用UseIdentityServer代替了对UseIdentity的调用
public void Configure(IApplicationBuilder app, IHostingEnvironment env){ if (env.IsDevelopment()) { app.UseDeveloperExceptionPage(); app.UseBrowserLink(); app.UseDatabaseErrorPage(); } else { app.UseExceptionHandler("/Home/Error"); } app.UseStaticFiles(); // app.UseAuthentication(); // not needed, since UseIdentityServer adds the authentication middleware app.UseIdentityServer(); app.UseMvc(routes => { routes.MapRoute( name: "default", template: "{controller=Home}/{action=Index}/{id?}"); });}创建用户数据库
鉴于这是一个新的ASP.NET Identity项目,您将需要创建数据库。 您可以通过从项目目录运行命令提示符并运行dotnet ef database update -c ApplicationDbContext来完成此操作:
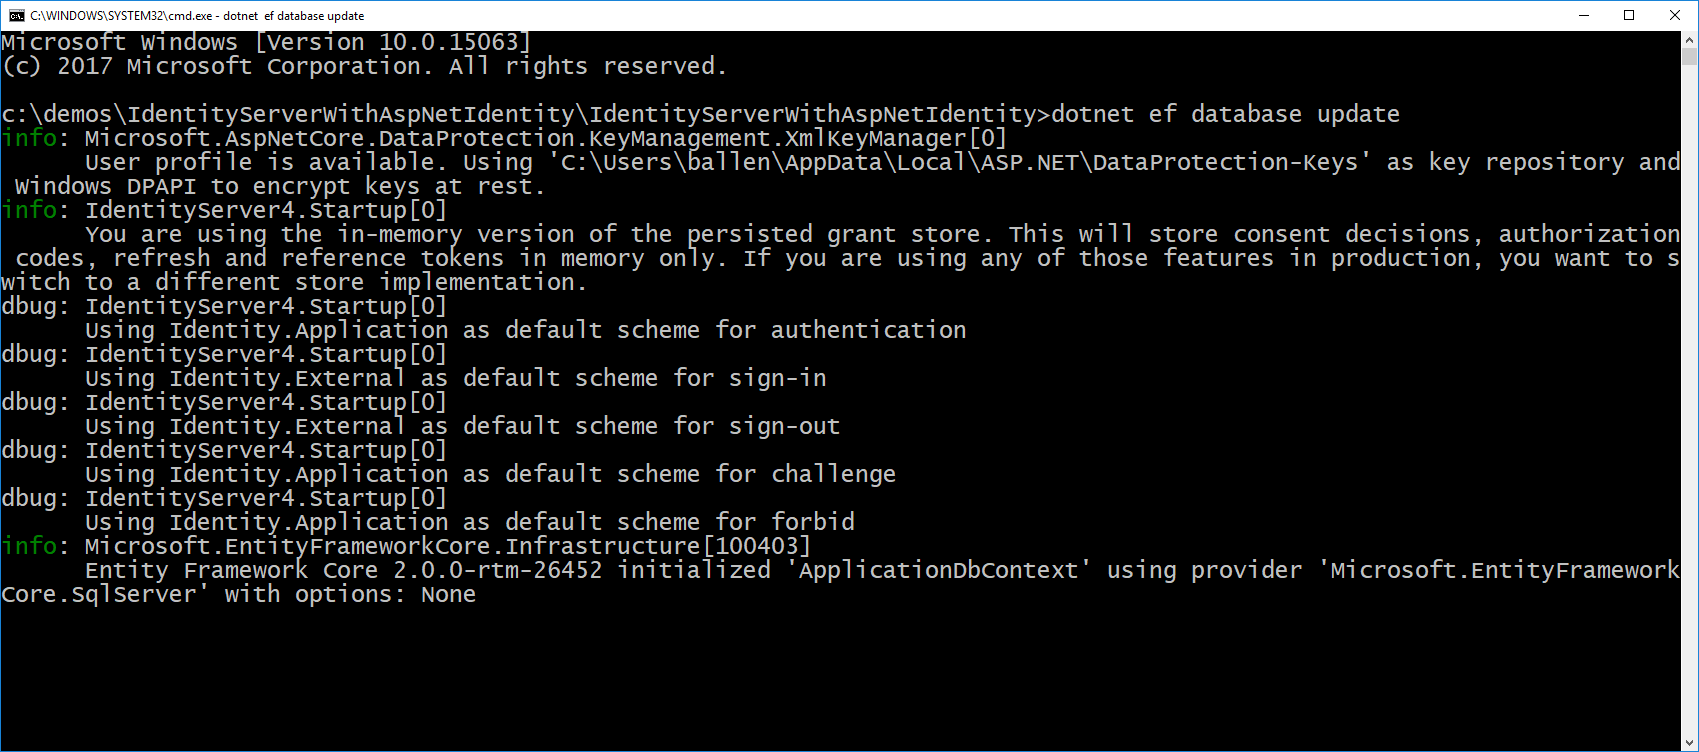
在VS程序包控制台使用命令也是一样的
Update-Database
创建用户
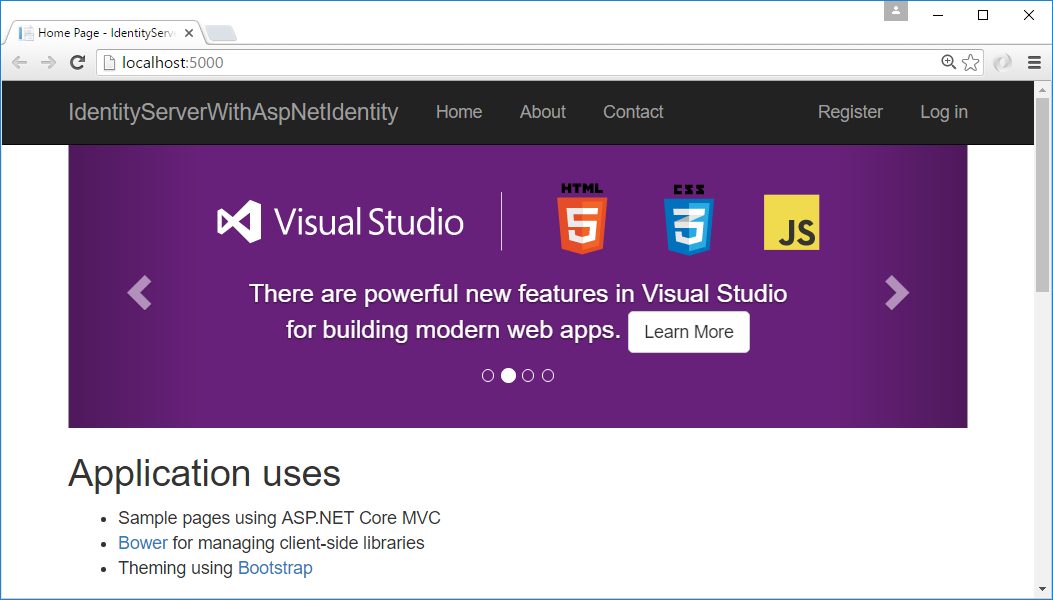
此时,您应该能够运行项目并在数据库中创建/注册用户。 启动应用程序,并从主页点击“Register”链接:
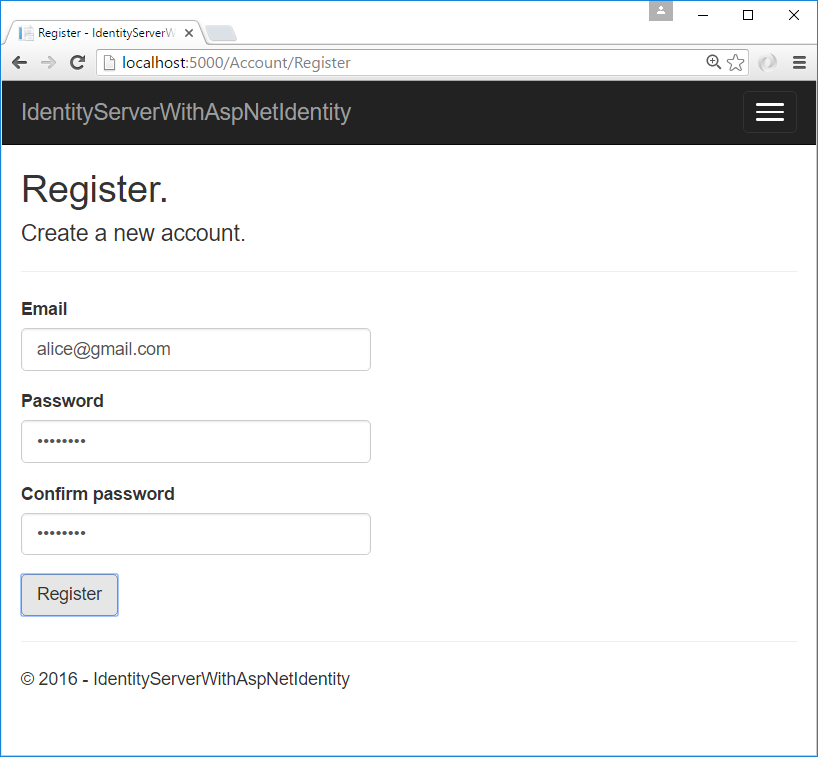
并在注册页面上创建一个新的用户帐户:
现在你有一个用户帐户,你应该可以登录,使用客户端,并调用API。
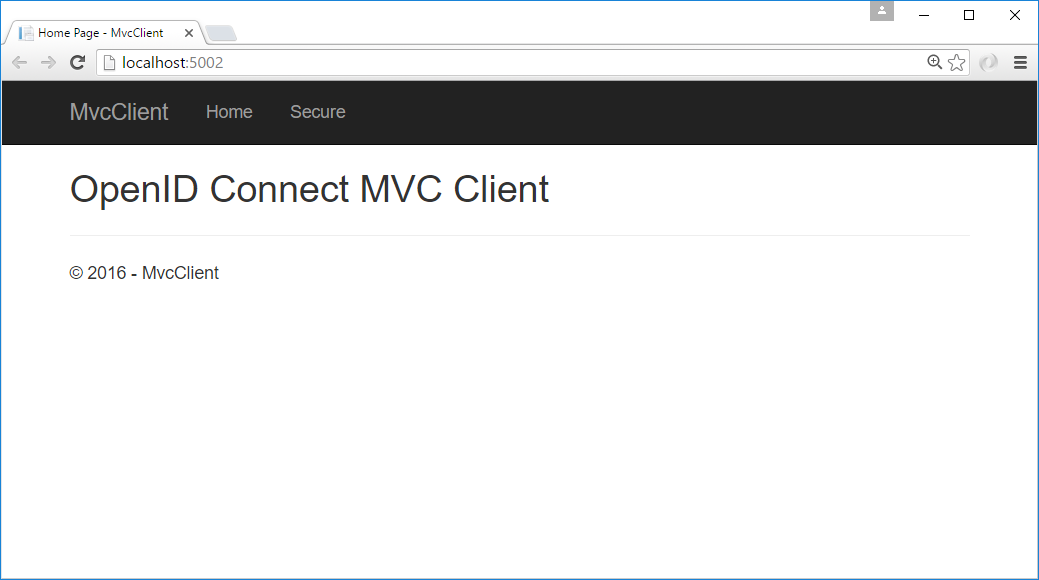
在MVC客户端登录
启动MVC客户端应用程序,你应该能够点击“Secure”链接登录。
您应该被重定向到ASP.NET Identity登录页面。 用新创建的用户登录:

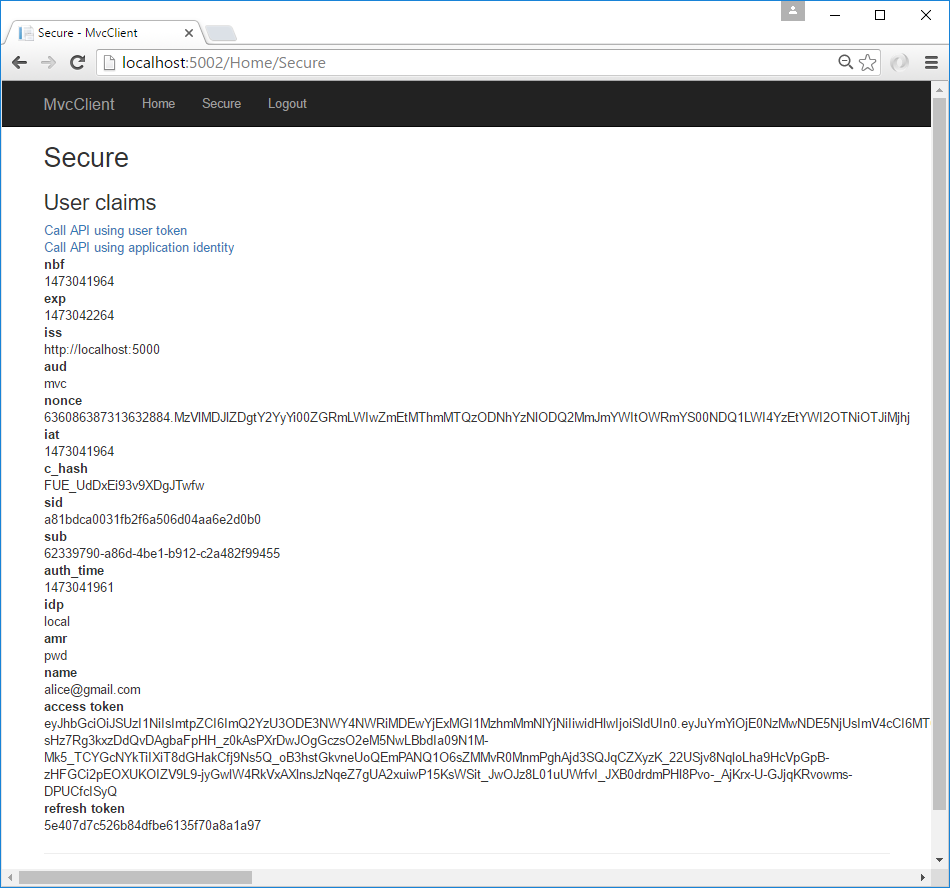
登录后,您应该跳过同意页面(给出我们上面所做的更改),并立即重定向到MVC客户端应用程序,会显示你的用户信息。
您还应该能够单击“Call API using application identity”来调用API:

现在,您已经从ASP.NET Ientity的用户登录。
本文代码:https://github.com/IdentityServer/IdentityServer4.Samples/tree/release/Quickstarts/6_AspNetIdentity
原文:https://identityserver4.readthedocs.io/en/release/quickstarts/6_aspnet_identity.html
注:本文内容来自互联网,旨在为开发者提供分享、交流的平台。如有涉及文章版权等事宜,请你联系站长进行处理。