
Agenda:
In this article, we will learn about RESTful WebAPI with .NET 5 (Successor of .NET Core 3.1).
- We will create a new WebAPI project with .NET CLI in VS Code
- We will see what’s new provided with .NET 5 WebAPI template
Tools:
- Visual Studio code or any IDE that supports .NET Core SDK
- .NET 5 SDK
Description:
Step 1: At the very first, you need to install the required IDE as well the .NET 5 SDK.
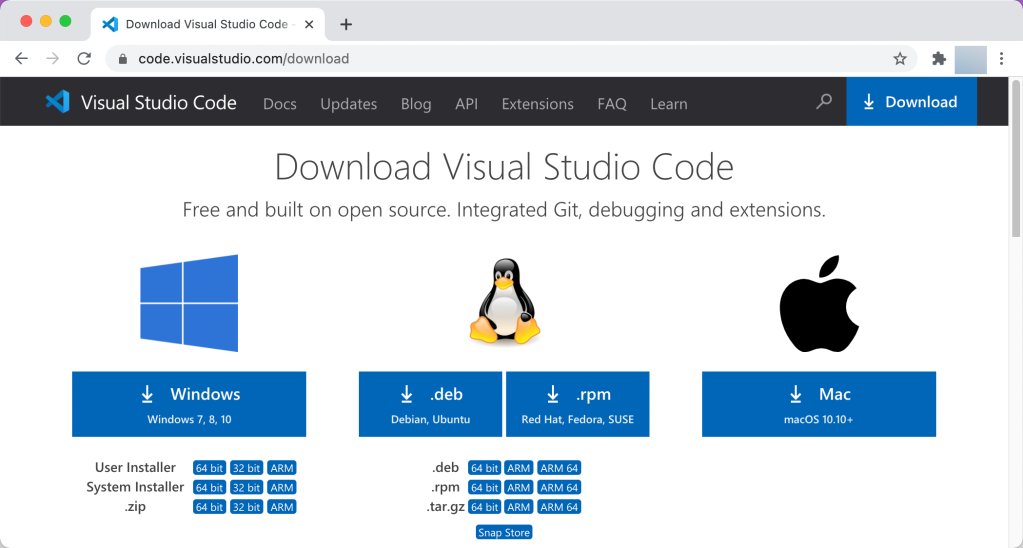
Go to https://code.visualstudio.com/download and download VS Code for your operating system. I am going to use Mac for this demo.
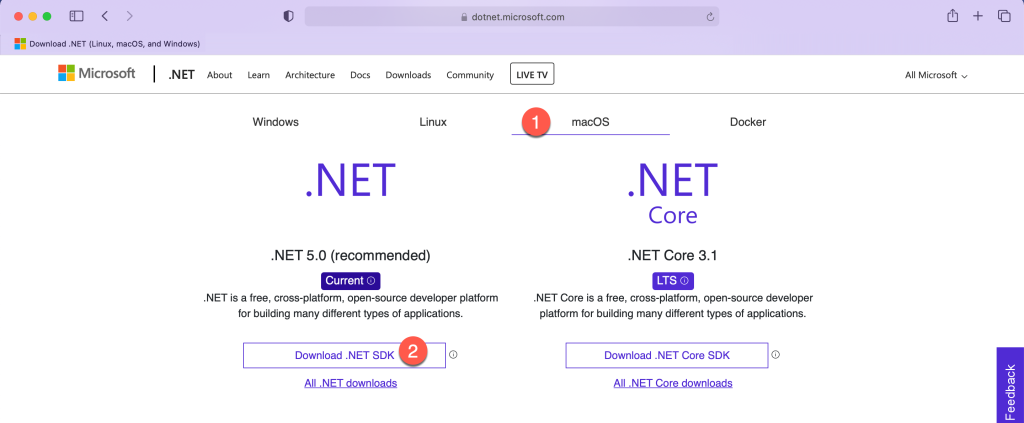
Now, once the visual studio code is installed, go ahead and download .NET 5 SDK from https://dotnet.microsoft.com/download.
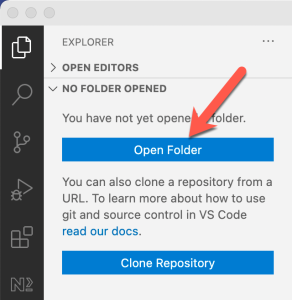
Step 2: Open Visual Studio Code and open Integrated terminal.
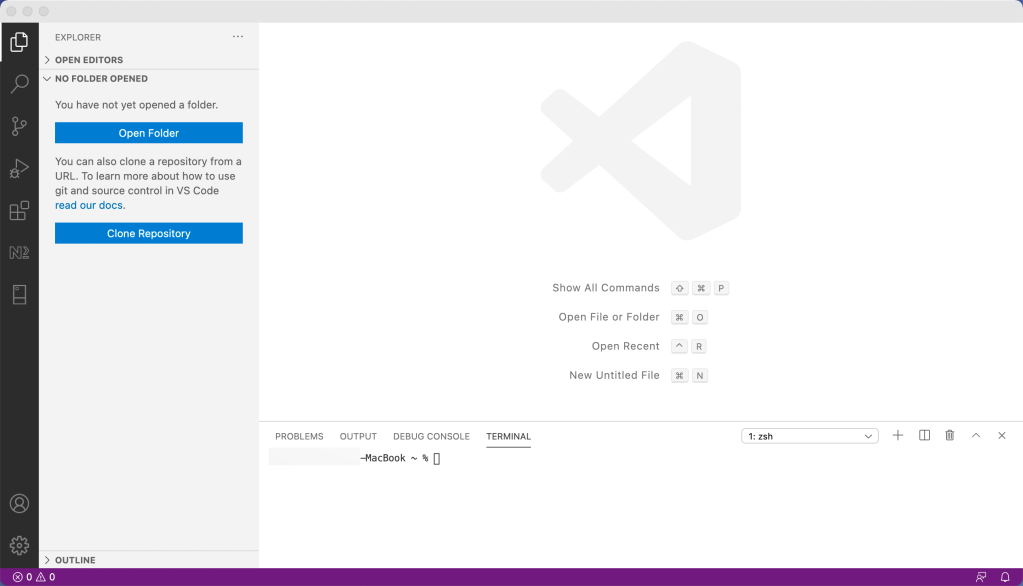
By default, integrated terminal opens automatically when VS Code starts, but if that doesn’t happen, follow the screenshot below.
![Terminal Window
New Terminal ['so']
Split Terminal
Run Task...
Run Build Task...
Run Active File
Run Selected Text
Help](https://debugsolutions.files.wordpress.com/2021/02/image-16.png?w=300)
Step 3: Before we start with the project creation, double check the version of .NET SDK installed in your machine.
Enter the following command and hit return.
“dotnet –info”
Please check the highlighted value which makes sure that you have .NET 5 SDK installed on your machine.
![PROBLEMS
OUTPUT DEBUG CONSOLE
TERMINAL
—MacBook % dotnet ——info
.NET SDK (reflecting any gl
Version:
Commit :
5.0. 102
71365b4d42
Runtime Environment:
OS Name:
Mac OS X
OS Version:
11.0
OS Platform: Darwin
RID:
Base Path:
osx. 11. ø-x64
/us r/ local/ sha re/dotnet/sdk/5.0.102/
Host (useful for support):
Version: 5.0.2
Commit :
cb5f173b96
.NET SDKs installed:
3.1.405 [/usr/local/share/dotnet/sdk]
5.0.102 [/usr/local/share/dotnet/sdk]
.NET runtimes installed:
1
1: zsh
Make sure you have
5.0 SDK installed
Microsoft.AspNetCore.App 3.1.11 [/usr/local/share/dotnet/shared/Microsoft.AspNetCore.App]
Microsoft.AspNetCore.App 5.0.2 [/usr/local/share/dotnet/shared/Microsoft.AspNetCore.App]
Microsoft.NETCore.App 3.1.11 [/usr/local/share/dotnet/shared/Microsoft.NETCore.App]
Microsoft.NETCore.App 5.0.2 [/usr/local/share/dotnet/shared/Microsoft.NETCore.App]
To install additional .NET runtimes or SDKs:
https : //aka. ms/dotnet—download](https://debugsolutions.files.wordpress.com/2021/02/image-18.png?w=1024)
Step 4: Change the current directory of your terminal to the directory where you want to create a new project. Once you move to the desired directory, enter the following command to create a new WebAPI project.
“dotnet new webapi -o dotnet5api”

The above command will create a new webapi project with name “dotnet5api”.
- “webapi” is a keyword for .NET CLI to know that we want to create a project for webapi template.
- “-o” stands for options that we want to pass to the new project creation template.
- “dotnet5api” is the name of the project that we want to create.
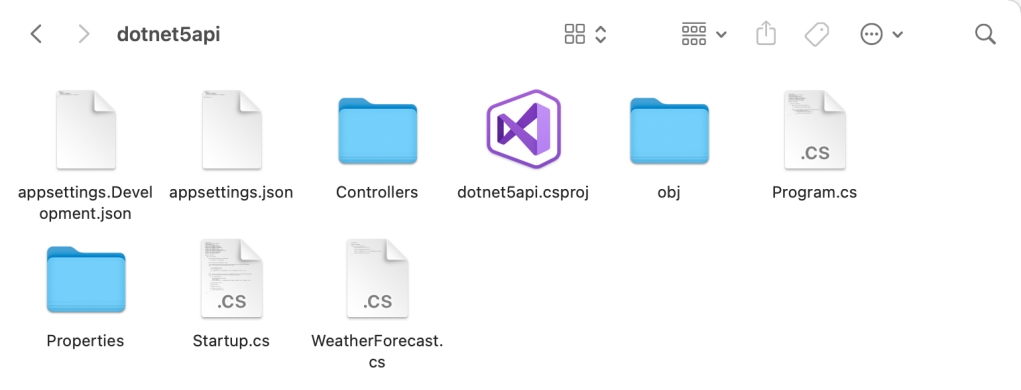
Below are the files that will be generated with the new project template.
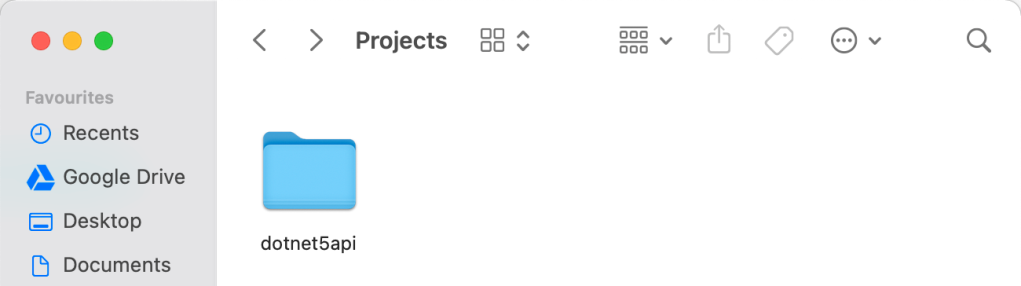
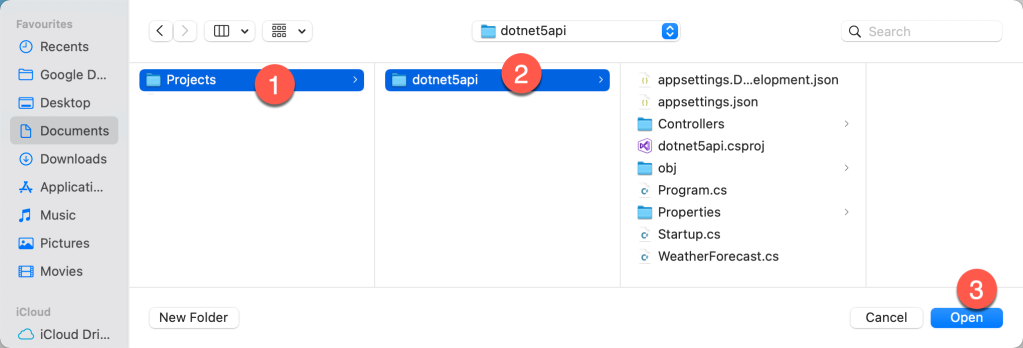
Step 5: Once the project is created, open the folder in VS code IDE.
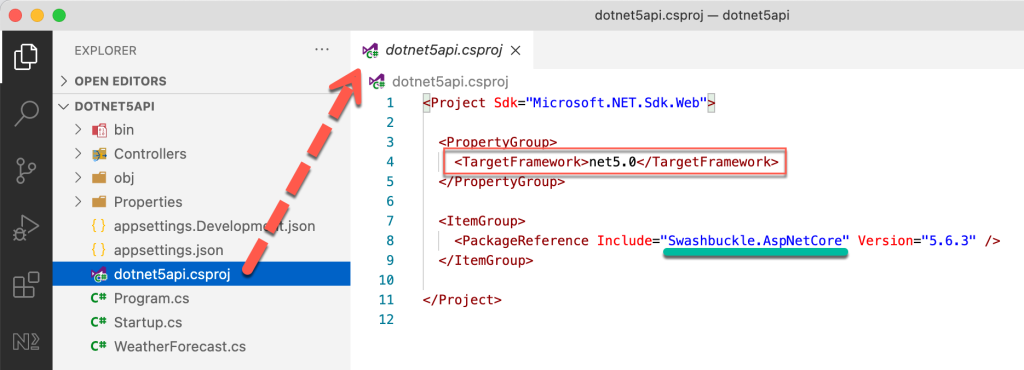
Step 6: Once the folder is opened in VS Code, open the .csproj file and you will notice two things.
You can see that TargetFramework tag shows the framework used for the project. So, our project is .NET 5 based.
Second important thing you will notice is that a package named “Swashbuckle.AspNetCore” is installed.
But, we didn’t installed any package in the project, right? So, where it came from?
This is a new thing that comes with .NET 5 template by default. This package is used to generate automatic documentation of your API so that it makes it easy for consumption and testing. I will show more about this later in the article.
Step 7: Now let’s look after other things in the created project.
First we go to controllers, and you will find a controller named “WeatherForecastController”. This comes by default with the project template.

- You will see that class name is decorated with ApiController attribute which makes this controller as REST api controller.
- Then you will see the route attribute and controller is mentioned in this. It tells the WebAPI host that the endpoint name will be exposed with the same name as that of controller excluding the Controller keyword from it’s name.
- Also look at the ControllerBase Parent class. ControllerBase exposes API related features to the controller like HttpContext etc.
- Look at the Get method, it returns a list of WeatherForecast with some data generated randomly. We create new endpoints like this as per the business needs.
Step 8: Now open Startup.cs file and focus on the highlighted code.

- The highlighted code in ConfigureServices injects the Swagger Documentation in the request pipeline. This will generate the API documentation.
- The highlighted code in Configure method instructs the WebAPI to generate the SwaggerUI for the developer to test the functioning of API.
Step 9: That’s enough knowledge about the project. Now let’s run this and see what we get.
Execute the below command to run the project.
“dotnet run”
![PROBLEMS
Building. ..
OUTPUT DEBUG CONSOLE TERMINAL
—MacBook dotnet5api % dotnet run
1: dotnet
. Microsoft. Hosting. Lifetime [0]
Now listening on: https://localhost:5ØØ1
. Microsoft. Hosting. Lifetime [0]
Now listening on: http://localhost:5ØØØ
. Microsoft. Hosting. Lifetime [0]
Application started. Press Ctrl+C to shut down.
. Microsoft. Hosting. Lifetime [0]
Hosting environment: Development
. Microsoft. Hosting. Lifetime [0]
Content root path: /Users/
/Documents/Projects/dotnet5api](https://debugsolutions.files.wordpress.com/2021/02/image-27.png?w=1024)
The above screenshot states that localhost ports are active for this project. So we can head over to the mentioned URL and test the WebAPI.
Go to https://localhost:5001/swagger in your browser.
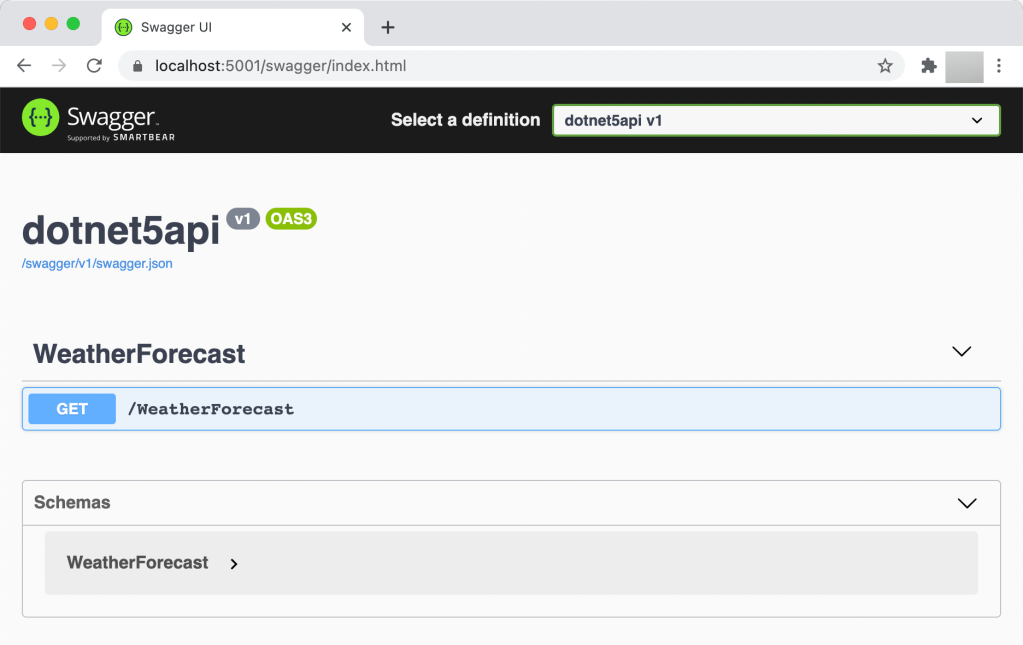
As you can see, we get a beautiful layout with the controller name and endpoints.
Expand the controller name and follow the steps mentioned in below screenshot.
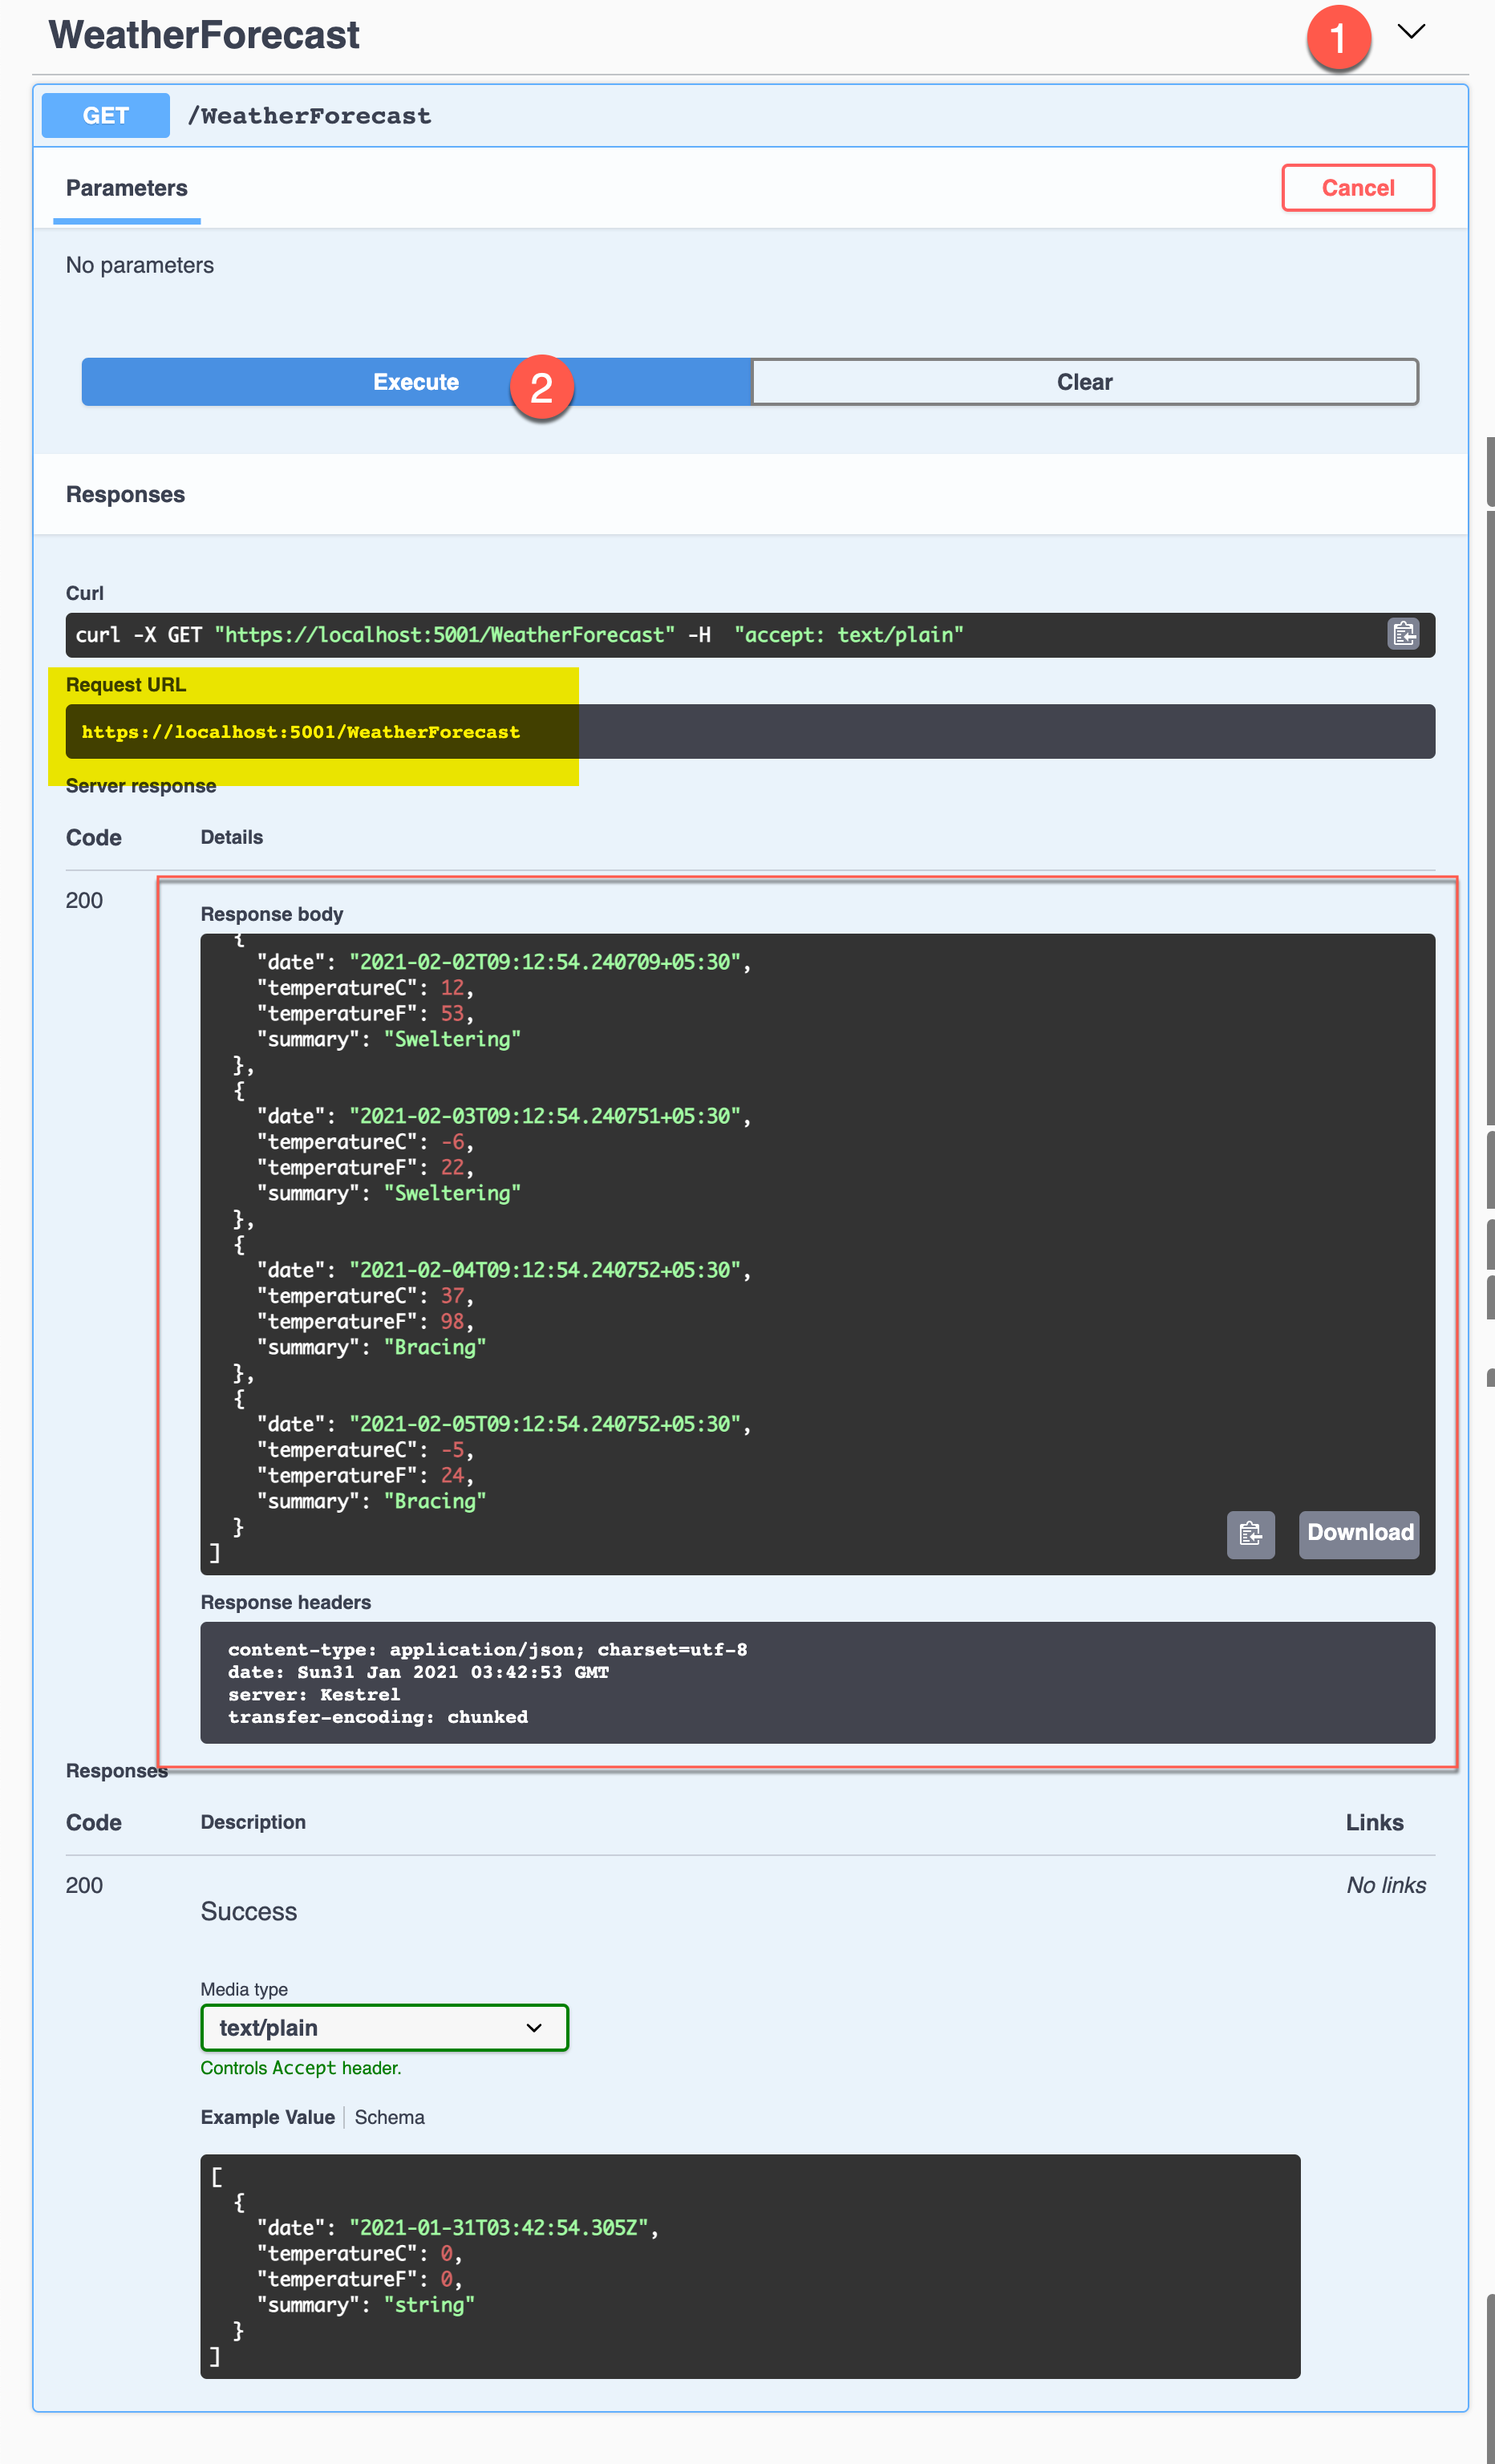
The above screenshot shows the response that the API endpoint returns.
If you see, we get the list of WeatherForecast as returned by GET method in the controller.
You can even the Request and Response Headers. This is the beauty of the Swagger documentation.

If you hit the Request URL directly in your browser’s address bar, you will see the response data but not upto the extent which swagger exposed.
![[ {"date • '
O O Swagger UI
x https://localhost:5001/Weathe
C localhost:5001/WeatherForecast
30 " , " temperatureC" : 37 , " temperatureF" : 98, " surnmary" : "Freezing" , { "date • '
30 " , " temperatureC" : 13, " temperatureF" : 55, " surnmary" : " Sweltering" , { " date •
30 " , " temperatureC" : 29 , " temperatureF" : 84 , " summary" : "Mild" } , { " date •
" . " 2021-02-
30 " , " temperatureC" : 29 , " temperatureF" : 84 , " surnmary" : "Balmy" , { " date •
" . " 2021-02-
" . '2021-02-
" . " 2021-02-
30 " , " temperatureC " : 20 , " temperatureF" : 67 , " surnmary" : " Balmy" ]](https://debugsolutions.files.wordpress.com/2021/02/image-30.png?w=1024)
Step 10: Now as you have seen the functioning of the API, now let’s see where the ports and the configuration is defined in the project.
Go to Properties folder –> launchSettings.json.
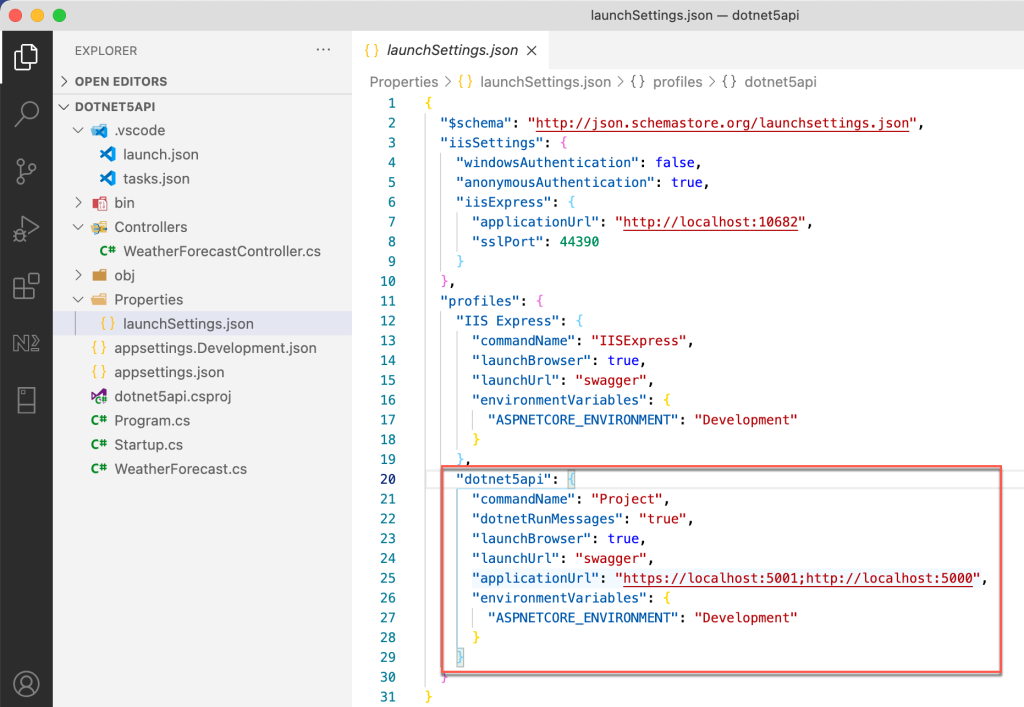
Look at the highlighted configuration.
- applicationUrl – It defines the Base URL of the API.
- launchUrl – It defines the home page of the API which can be used as a suffix to the Base URL.
You can create as much configurations as you can which makes it really easy to expose the API.
